Like a sturdy shield protecting your castle, a vinyl fence provides security and adds a touch of elegance to your property. But just like any armor, it's not invincible. Over time, cracks, holes, and loose posts can compromise its integrity, leaving you with a fence in need of repair. But fear not, for this discussion will guide you through the steps to rejuvenate your vinyl fence and restore its strength. Whether you're facing small cracks, broken pickets, or wobbly posts, this guide has got you covered. So, grab your tools and let's get to work, because a strong and beautiful fence awaits.
Assessing the Damage
To assess the damage to your vinyl fence, carefully inspect each section for any signs of cracks, breaks, or other structural issues. Start by evaluating the overall condition of the fence. Look for any visible damage, such as cracks or breaks, in the vinyl panels or posts. Pay close attention to any areas where the fence may have been hit or impacted by external forces.
Next, determine the cause of the damage. Was it due to extreme weather conditions, such as strong winds or heavy snow? Or perhaps it was caused by accidental impact, like a fallen tree branch or a wayward lawnmower? Understanding the cause of the damage will not only help you in the repair process but also in preventing future damage.
In addition to cracks and breaks, be on the lookout for any signs of warping or sagging. Vinyl fences are designed to withstand various weather conditions, but over time, they can start to warp or sag, compromising the overall integrity of the fence. This can be caused by prolonged exposure to sunlight or extreme temperature changes.
Inspect the fence for any loose or missing hardware, such as screws or brackets. These small components play a crucial role in keeping the fence securely in place. If you notice any loose or missing hardware, be sure to replace or tighten them to ensure the fence remains stable and secure.
Gathering the Necessary Tools and Materials
To gather the necessary tools and materials for repairing your vinyl fence, you will need to assemble a few key items. First and foremost, you will need to choose the right vinyl adhesive. This is crucial for ensuring a strong and long-lasting repair. Look for an adhesive that is specifically designed for use with vinyl materials. It should be waterproof and resistant to extreme temperatures, as your fence will be exposed to various weather conditions.
Additionally, you will need some basic tools to aid in the repair process. These include a measuring tape, a level, a hacksaw or a reciprocating saw, a drill with screwdriver bits, and a rubber mallet. These tools will help you accurately measure and cut any replacement pieces, secure the fence panels in place, and make adjustments as needed.
In some cases, your vinyl fence may have weak sections that require reinforcement. To strengthen these areas, you can use aluminum or steel inserts. These inserts should be cut to the appropriate length and inserted into the vinyl posts or panels. This will provide additional support and prevent further damage or sagging.
Lastly, it is important to have replacement vinyl pieces on hand, such as panels or posts, in case any sections need to be completely replaced. These replacement pieces should match the color and style of your existing fence to ensure a seamless repair.
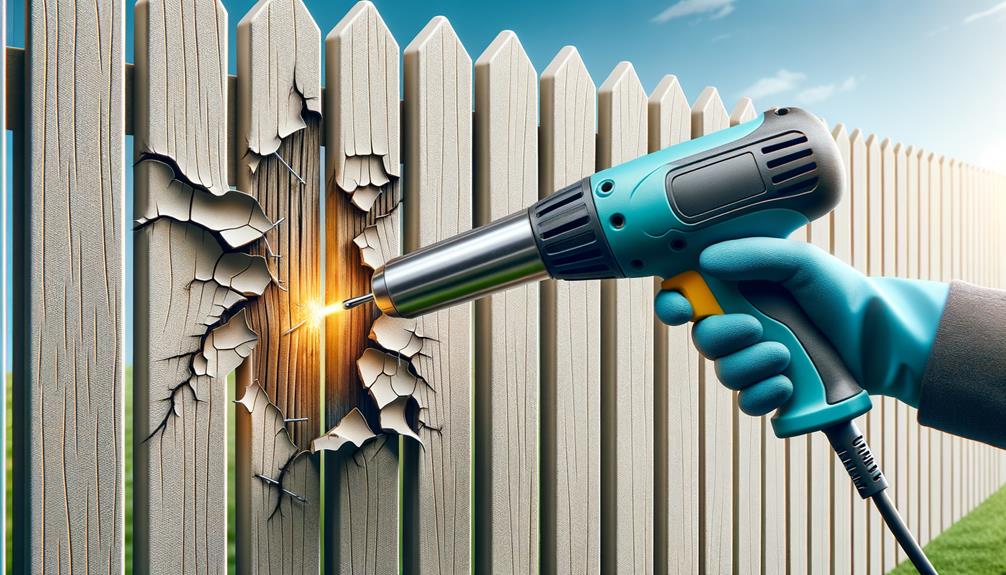
Repairing Small Cracks and Holes
Now that you have gathered the necessary tools and materials, it's time to address the next step in repairing your vinyl fence: tackling small cracks and holes. When it comes to patching techniques for vinyl fence repairs, using epoxy resin is an effective solution for repairing small cracks and holes in your vinyl fence. Epoxy resin is a durable and waterproof material that can easily adhere to vinyl surfaces, ensuring a long-lasting repair.
To begin, make sure the crack or hole is thoroughly clean and free from debris. Use a brush or cloth to remove any loose particles or dirt. Next, mix the epoxy resin according to the manufacturer's instructions. Be sure to wear gloves and safety goggles to protect yourself during the process.
Apply the mixed epoxy resin to the crack or hole using a putty knife or a plastic spatula. Spread the resin evenly and smoothly, making sure to fill the entire area. For larger cracks or holes, you may need to apply multiple layers, allowing each layer to dry before applying the next.
Once the epoxy resin has dried completely, use a fine-grit sandpaper to smooth out any rough edges. This will help the repair blend seamlessly with the surrounding vinyl fence. After sanding, you can paint the repaired area to match the color of your vinyl fence, if desired.
Replacing Broken Pickets
When replacing broken pickets on your vinyl fence, you will need to carefully remove the damaged picket without causing further damage to the surrounding fence structure. Picket replacement techniques require attention to detail and precision. Here's a step-by-step guide to help you replace broken pickets on your vinyl fence.
First, ensure that you have the necessary tools for the job, including a pry bar, a hammer, and replacement pickets. To select the right vinyl fence pickets, match the style, color, and dimensions of the existing pickets. This will ensure a seamless repair that blends in with the rest of your fence.
To begin the picket replacement process, locate the broken picket and carefully remove any screws or nails securing it to the fence. Use the pry bar to gently pry the picket away from the fence posts. Be cautious not to damage the surrounding pickets or the fence structure.
Once the damaged picket is removed, take measurements of the gap left behind. Cut a replacement picket to the appropriate length using a saw. Ensure that the replacement picket matches the height and width of the original pickets.
Next, slide the replacement picket into the empty space, aligning it with the adjacent pickets. Use a hammer and nails or screws to secure the picket to the fence posts. Make sure it is firmly in place.
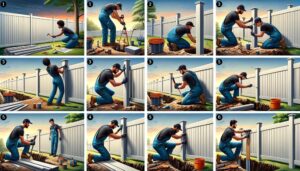
Fixing Loose or Damaged Posts
After successfully replacing broken pickets on your vinyl fence, you may encounter the issue of loose or damaged posts that require immediate attention to ensure the stability and integrity of your fence structure. To address this problem effectively, follow these steps:
- Strengthening weak fence foundations: Begin by inspecting the base of the posts to identify any signs of weakness or instability. If the foundation is compromised, it is crucial to reinforce it to prevent further damage. One way to reinforce the foundation is by adding concrete around the base of the post. Dig a hole around the post, pour concrete into it, and allow it to set. This will provide a solid and stable foundation for the post.
- Securing loose fence panels: Loose fence panels can compromise the overall stability of your vinyl fence. To secure them, start by removing any screws or fasteners that are holding the panel in place. Inspect the panel for any damage and repair or replace it if necessary. Once the panel is in good condition, reattach it to the posts using appropriate screws or fasteners. Make sure to tighten them securely to prevent any future loosening.
- Replacing damaged posts: If a post is damaged beyond repair, it will need to be replaced. Start by removing the old post from the ground, ensuring all screws or fasteners are removed. Dig a new hole at the same location and insert a new post. Use a level to ensure the post is perfectly vertical. Secure the post in place by adding concrete around the base and allowing it to set.
- Regular maintenance: To prevent future issues with loose or damaged posts, it is essential to perform regular maintenance on your vinyl fence. Inspect the posts and panels periodically for any signs of wear or damage. Address any issues promptly to maintain the stability and longevity of your fence.